Xamarin.Forms app TcpClient Error on Connect with “No route to host” exception

My app showing network error in iOS 14.2(IPhone 7), resetting the network settings also not working and the problem still persists with error “No route to host”, It seems something blocking communications back to destination server.

App fails to send requests on the local network (through CFSocketSendData) on the iOS 14 device, even the local network access being properly granted so what could be the fix ??

Fix : The real culprit was ForticlientVpn as FortiClient SSL VPN split tunneling does not work for DNS resolution. SSL custom DNS replaced system DNS so the vpn client uninstallation did the trick.


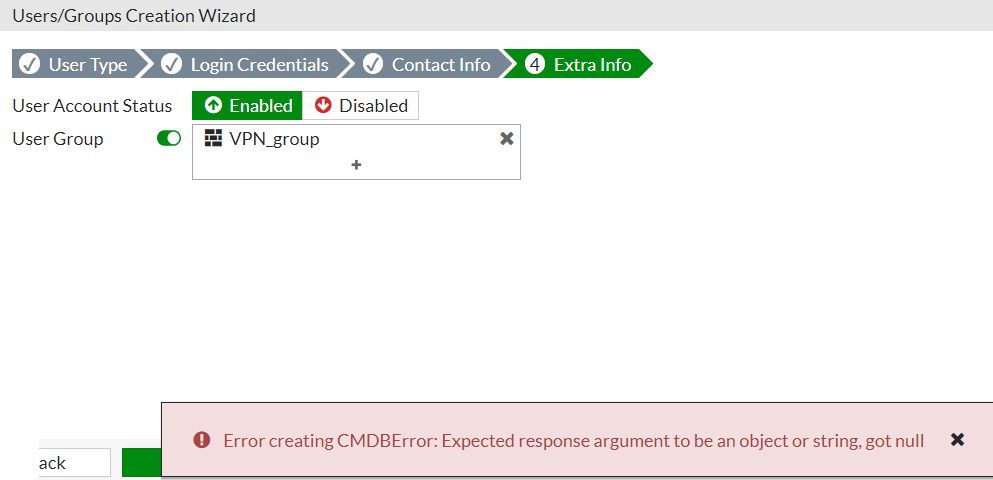
The error creating CMDBError : Expected response argument to be an object or string,get null ” ,while adding new vpn user on Fortigate Firewall

The error creating CMDBError : Expected response argument to be an object or string,get null ” ,while adding a vpn user on Fortigate Firewall as shown in the image below :

Fix : It’ s a bug (as per fortinet forum) and solved at my end by a rebooting the firewall. For the permanent fix ,you need to upgrade to the latest patch level.

Error connecting to Filemaker 17 server DATA API

Postman is a software development tool. It enables people to test calls to APIs.

While checking for the above filemaker Data Api error from post man i got,

Could not get any response “there was an error connecting to :

https://172.16.x.x/fmi/data/v1/databases/TEST/sessions

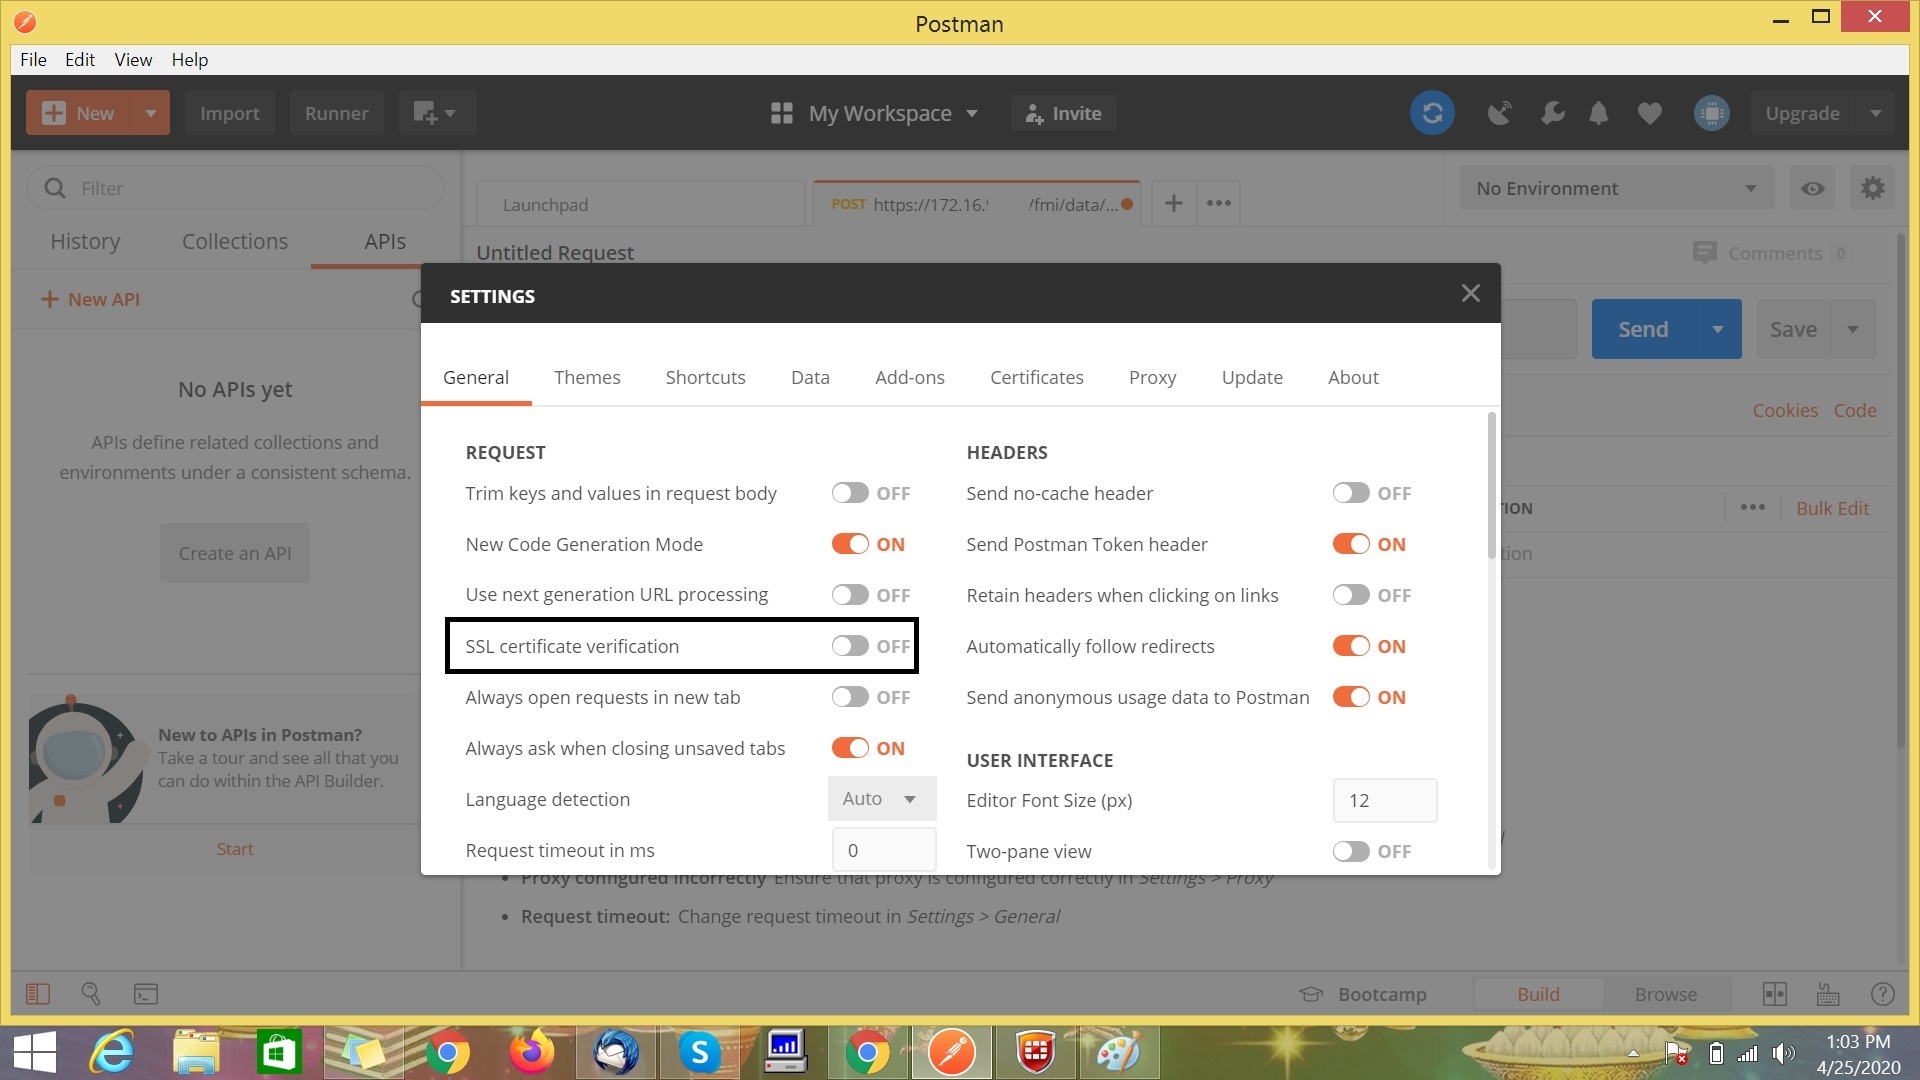
Normally above error comes when valid ssl certificate is not present at remote server,where you are connecting to..so in post man go to file–settings–turn off “SSL certificate verification” now you will get response from remote server…i found no issues with my Filemaker DATA API. It was only because of the SSL certificate issue for which postman was generating the error.

Error2

WiFi issues with Creators Update…“RSC” (Receive Segment Coalescing) issue !!

Addressed issue where, after updating to the Creators Update, devices that have Receive Segment Coalescing (RSC) enabled have significantly low wireless throughput.”

Ex : Hp ProBook with all new installed drivers and updates.But after installing Creators Update (Microsoft Windows [Version 10.0.15063]) i have extremely slow wifi.

Fix : Microsoft has recently announced a fix for this particular “RSC” (Receive Segment Coalescing) issue, withOS Build 15063.447 ,Try installing the latest Windows 10 cumulative update (KB4022716, OS Build 15063.447) to see if it helps. To install the update, go to Start>Settings > Update & security > Windows Update >Check for updates.

Other workarounds are as follows :

Workaround #1 (Recommended by Microsoft):

Disable” Receive segment coalescing” (Rsc) on your wireless adapter

1.) Get your network adapter name: powershell Get-NetAdapter
2.)Note your adapter’s name (mine is: Wi-Fi)
3.) Get your network adapter “Receive segment coalescing” (Rsc) settings: powershell Get-NetAdapterRsc

Mine listed a table that had 1 row, for adapter name Wi-Fi, that had IPv4Enabled True, and IPv6Enabled True
4.) Disable Rsc for your network adapter:
powershell Disable-NetAdapterRsc -Name ADAPTER_NAME_FROM_BEFORE
Be sure to replace ADAPTER_NAME_FROM_BEFORE with whatever your network adapter name is, without quotes
6) Verify Rsc is disabled for ipv4 and ipv6, on your network adapter: powershell Get-NetAdapterRsc
Should now show IPv4Enabled False, and IPv6Enabled False, for your network adapter
7) Re-test your wireless internet connection.

Workaround #2:

To CHANGE your MTU to 1400:

Right Click Start > Command Prompt (Admin) > Type or right-click-paste the following command:

netsh interface ipv4 set subinterface “YOUR_WIRELESS_CONNECTION_NAME” mtu=1400 store=persistent

Workaround #3: Prevent Windows Update from updating driver 17.15.0.5 (2/22/2015):

– Get driver 17.15.0.5 installed, per instructions above

– Settings > Update & security > Windows Update > Check for Updates

– If it updated the driver version, then go to Device Manager, right-click, Properties, Driver tab, “Roll Back Driver”

– Verify 17.15.0.5 is installed again

– Settings > Update & security > Windows Update > Check for Updates

– Verify the driver does not get updated

Failed to set SSID or passphrase while connecting the Raspberry Pi 3 Model B to Wifi network

You need to find out the wireless encryption standard of your network ,which I found as Wired Equivalent Privacy (WEP) for my case so even after supplying the correct user name and password, I was getting the above error.

The reason was WEP key (i.e. password) only allowed hexadecimal digits (i.e. 0 – 9, A – F) as password therefore ‘hello’ is not a valid password, and maximum length for the password is 26 hexadecimal digits (or 104 bits). This is the reason that WEP is not very secure and less used nowadays so we need to supply the password as hexadecimal digits.

If you still want to use WEP, here is the fix :

Run your editor (example using nano) to modify the configuration of  /etc/wpa_supplicant/wpa_supplicant.conf file:

syntax : sudo nano /etc/wpa_supplicant/wpa_supplicant.conf

Add the following configuration to the end of the file:

network={

ssid=”your network ssid”

key_mgmt=NONE

wep_key=0123456789abcdef0123456789

}

Please note that there is no quote for wep_key and it must be hexadecimal digits, and maximum length not exceeding 26 hexadecimals as shown above.

Save the file and reload the network service or reboot,now your Raspberry Pi 3 will be connected successfully.

Unable to access xxx GB Volume (Error mounting) OR Cannot boot: “No init found, Try passing init=bootarg

Suddenly while working with Ubuntu OS, the screen gets stuck unresponsive and it takes you no where except you think of force restarting the machine and now the machine starts with another error as shown below.

ubuntuError

With much R&D by logging in through recovery mode but it didn’t get me in to that also

Then tried booting from Ubuntu DVD to run few commands as shown below.

Solutions : Boot from the Ubuntu DVD and use the Try Ubuntu option

You can select Try Ubuntu,which will load a virtual Ubuntu desktop for you.

Open Terminal and type

# sudo fdisk -l (to check and select the root device name as required)

You will get the output results as shown below :

/dev/sda1 * 1 20224 232776703+ 53 Linux
/dev/sda2 30128 32302 1208287+ 4 Extended

Then run this command to fix the issue, It will check and fix the HDD issue

# sudo fsck /dev/sda1 then press ENTER (where my /root is sda1)

Once it finishes checking the root drive, just type the below command to restart the machine

# sudo shutdown -r now

It should restart the machine with no errors…fixed

The above solution will work out to solve the following error as well

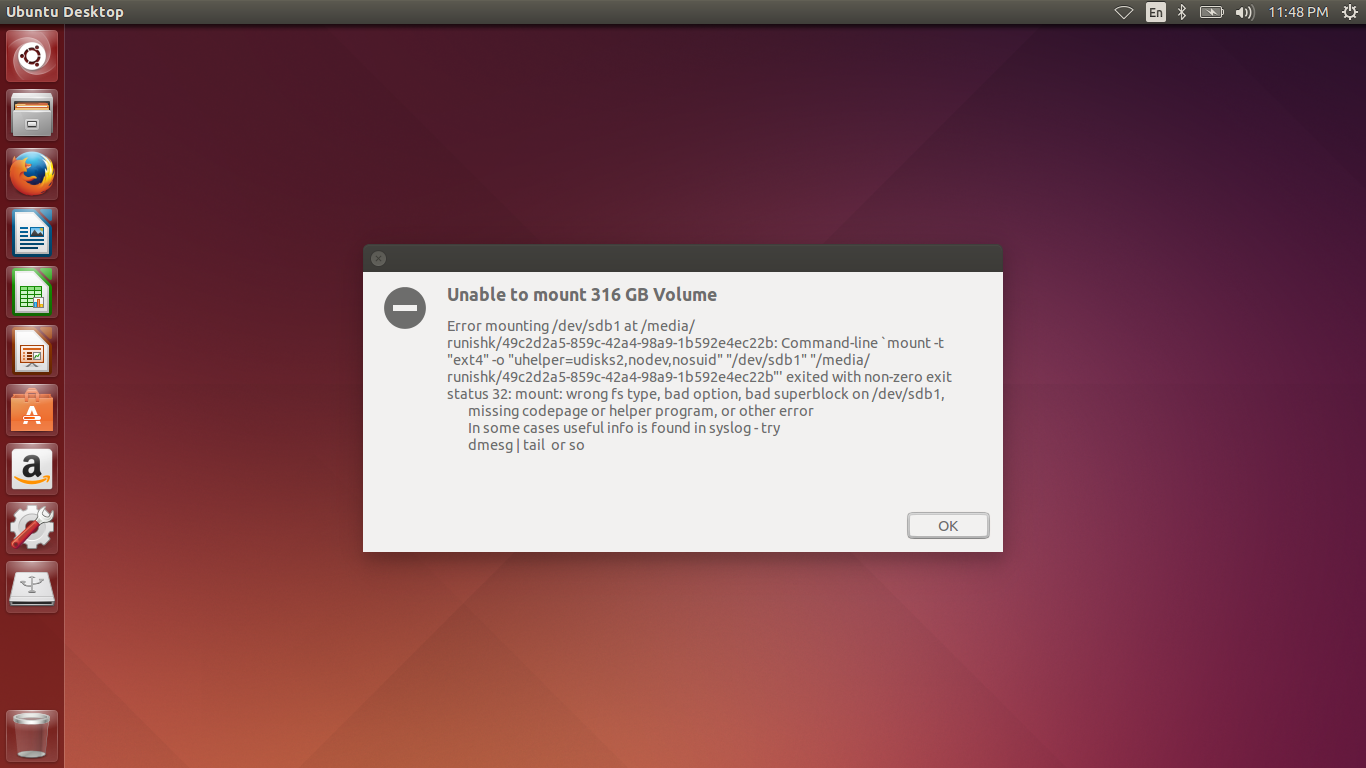
Error : “Unable to mount 316 GB volume.” as shown below.

Screenshot-from-2014-08-06-23_48_35

WampServer Installation Errors

While installing wamp server,i stuck with error as “The program can’t start because VCRUNTIME140.dll is missing from your computer. Try reinstalling the program to fix the problem.”  OR 

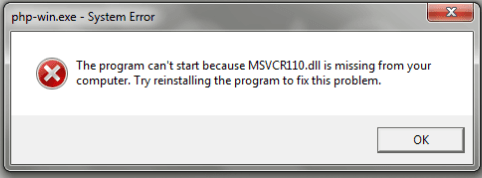
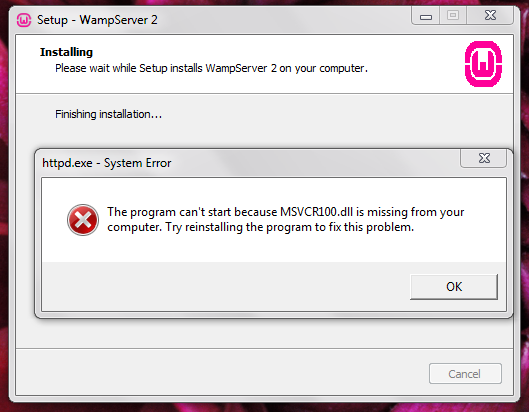
If you install WAMP in Windows computer and try to run by clicking to its icon, you will see an error showing that MSVCR120.DLL is missing from your computer or The number may vary i.e “MSVCR110.DLL” etc as shown below.

er1

er2

Fix :

Proceeding with the installation of Wampserver, you must ensure that certain elements are installed on your system, otherwise Wampserver will not run, and in addition, the installation will be faulty and you need to remove Wampserver again before installing the elements that were missing.

Make sure you are “up to date” with the redistributable packages VC9, VC10, VC11, VC13 and VC14 (install each package with run as administrator privileges) and make sure both 32 bit (x86) and 64 bit (x64) components are installed,you can find the details inside Control Panel Programs > Programs and Features to make sure.

Visual C++ Packages : 
The MSVC runtime libraries VC9, VC10, VC11 are required for Wampserver 2.4, 2.5 and 3.0, even if you use only Apache and PHP versions with VC11. Runtimes VC13, VC14 is required for PHP 7 and Apache 2.4.17+
— VC9 Packages (Visual C++ 2008 SP1)
Microsoft Visual C++ 2008 SP1 Redistributable Package (x86)
Microsoft Visual C++ 2008 SP1 Redistributable Package (x64)
— VC10 Packages (Visual C++ 2010 SP1)
Microsoft Visual C++ 2010 SP1 Redistributable Package (x86)
Microsoft Visual C++ 2010 SP1 Redistributable Package (x64)
— VC11 Packages (Visual C++ 2012 Update 4)
The two files VSU4\vcredist_x86.exe and VSU4\vcredist_x64.exe to be download are on the same page:
Visual C++ Redistributable for Visual Studio 2012 Update 4
— VC13 Packages] (Visual C++ 2013[)
The two files VSU4\vcredist_x86.exe and VSU4\vcredist_x64.exe to be download are on the same page:
Visual C++ Redistributable Packages for Visual Studio 2013
— VC14 Packages (Visual C++ 2015) Replaced by VC15
The two files VSU4\vcredist_x86.exe and VSU4\vcredist_x64.exe to be download are on the same page:
Visual C++ Redistributable for Visual Studio 2015 Update 3
— VC15 Redistribuable (Visual C++ 2017)
Visual C++ Redistributable Packages for Visual Studio 2017 x86
Visual C++ Redistributable Packages for Visual Studio 2017 x64
VC2017 (VC15) is backward compatible to VC2015 (VC14). That means, a VC14 module can be used inside a VC15 binary. Because this compatibility the version number of the Redistributable is 14.1x.xx and after you install the Redistributable VC2017, VC2015 is removed but you can still use VC14.

If you have a 64-bit Windows, you must install both 32 and 64bit versions, even if you do not use Wampserver 64 bit.

Ubuntu 14.04 login loop problem

Errors :

1.) Ubuntu 14.04 login loop problem i.e My Ubuntu 14.04 is stuck when trying to login to my desktop,the login screen comes back again and again after entering the password.

2.) Won’t execute terminal commands !!

Error : ‘Command ‘sudo’ is available in ‘/usr/bin/sudo’

The command could not be located because ‘/usr/bin’ is not included in the PATH environment variable. sudo: command not found’

Continue reading